Cool refresh for stationary use
![]()
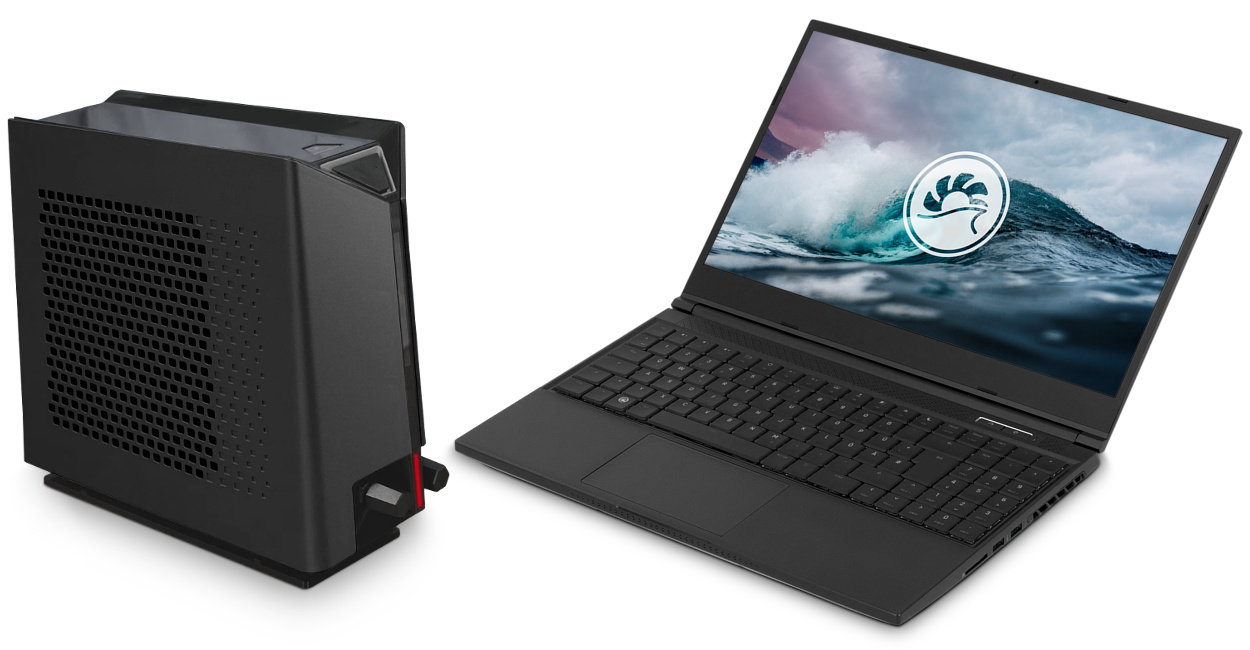
TUXEDO Aquaris
Connect your TUXEDO Aquaris to your notebook
- To connect TUXEDO Aquaris to your notebook, unscrew the two caps from the hose valves on the front of your Aquaris. Then screw the two water cooling hoses to the valves of your Aquaris.
- Now fold aside the rubber cap over the water cooling ports at the back of your TUXEDO notebook and plug the 2-in-1 water cooling hose connector into the water cooling ports of your notebook. Make sure that the tubes are firmly and savely connected to your notebook.
- TUXEDO Aquaris does not require a separate power supply, but is powered from your notebook power supply. Connect your TUXEDO Aquaris to the power supply of your notebook and plug the extension cable of the Aquaris into the power port of your TUXEDO notebook.
Fill in water and connect your Aquaris to your notebook via Bluetooth
- Remove the black cap of the filler neck on top of your TUXEDO Aquaris and fill in the distilled water cooling liquid, which is also included in the scope of delivery, into the water tank of your Aquaris up to the upper mark with the help of the pipette cup and the small funnel.
Attention! Please only use distilled water as cooling liquid! Ordinary water or other liquids can contain organic substances and bacteria that can damage your Aquaris. TUXEDO Aquaris is also not designed to work with other PC water cooling liquids! - Close the filler neck well with the cap and switch on your TUXEDO Aquaris. To do this, press the power button on the top of the chassis for a few seconds until the blue LED starts to flash.
- Activate Bluetooth on your notebook and start the TUXEDO Control Center. Click on "Aquaris" in the left menu. The TUXEDO Control Center should find your Aquaris within a few seconds. Select your Aquaris and click on "Connect".
Fan and LED control in the TUXEDO Control Center
- In the TUXEDO Control Center, you can now control both the fan speed of the Aquaris and the LED light strip on the front of the case.
- There are three predefined speeds for the fan control: Slow, Medium and Fast. In addition, you can set any fan speed via the slider or keyboard input.
Please note: Fan speeds below 50% may create interfering noises due to technical reasons. If necessary, adjust the fan speed to suit your needs. - For the LED light control, you can choose any color and specify under "Mode" whether the LED should light up statically, change colors periodically or "breathe".
- Tip: To make your Aquaris easier to identify (e.g. in an office with several Aquaris devices), you can re-name your Aquaris as you wish via the pencil icon next to the device name.
Disconnect TUXEDO Aquaris from your notebook
- To disconnect the Bluetooth connection with the TUXEDO Control Center, click on the centered button "Disconnect".
- Switch off your TUXEDO Aquaris with a press on the power button for a few seconds until the blue LED turns off.
- Next, carefully disconnect the 2-in-1 water hose connector from your notebook and place it at a safe distance from your notebook.
Caution! There may still be a residual amount of water in the hoses! There is also still cooling liquid in the water cooling pipe inside the notebook. So leave the notebook still on the table! - Now get a small bowl or the pipette cup, plug the included drain adapter onto the water cooling ports of your TUXEDO notebook and carefully lift the computer so that you can pour the cooling liquid into the bowl or cup in a controlled manner.
- Ensure that the notebook's internal water cooling pipe has been completely drained by gently swirling the notebook over the bowl / cup.
- Dry any remaining water drops on the water cooling ports of your notebook carefully with a cloth or paper towel and cover the water cooling ports with the rubber cap.
-
If the Aquaris is transported carefully and in an upright position, it does not necessarily have to be drained. In this case, however, be sure to leave the hoses screwed on, as otherwise the water will leak out of the screw caps on the front of the Aquaris! If you want to be on the safe side though, you can empty the Aquaris' water tank conveniently over the sink or similar in this way.